Assembly of the printer
A question, a problem or a suggestion, don't hesitate : a little email
A page who describes :
- the initial assembly of the pinter (bought as a kit),
- the tuning,
- the improvements I have made.
Initial assembly of the printer
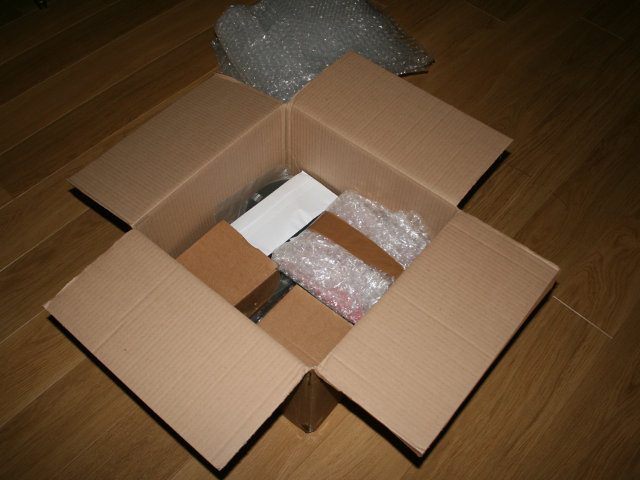
The printer received as a kit in its packing.
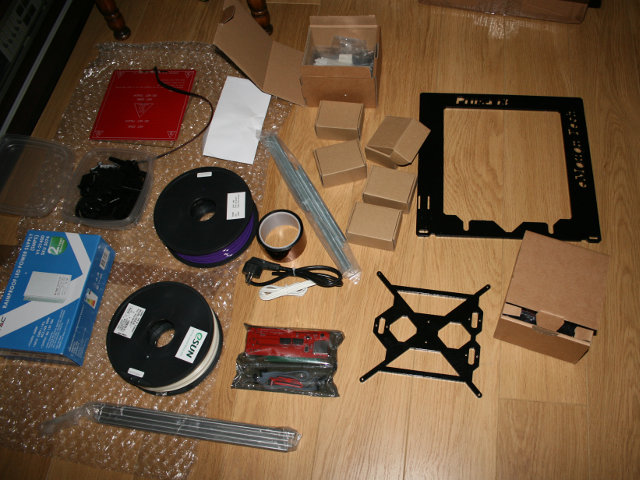
The numerous pieces to be put together.
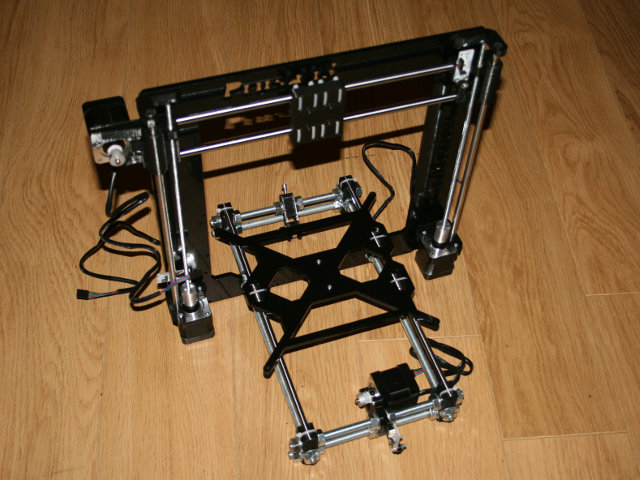
The mechanical part finished (except pinter head and belts).
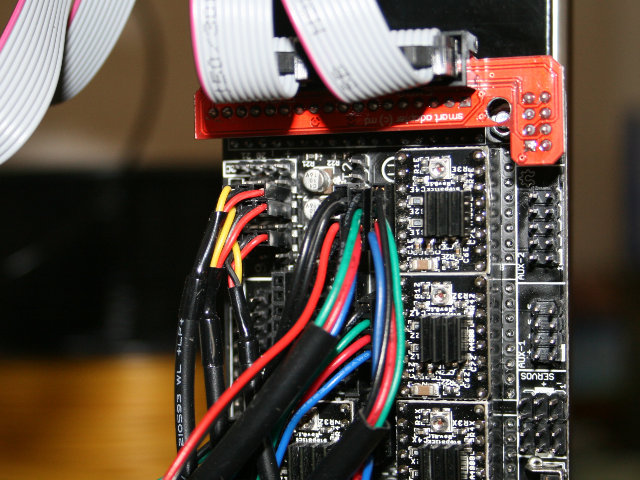
The connections with the command board.
The assembled printer in its ioriginal configurations.
With electronic tuning, it took me 2 afternoons to assemble the printer.
Tuning of the printer
The tuning of the displacements of the printer head and the plate are done during the assembly.
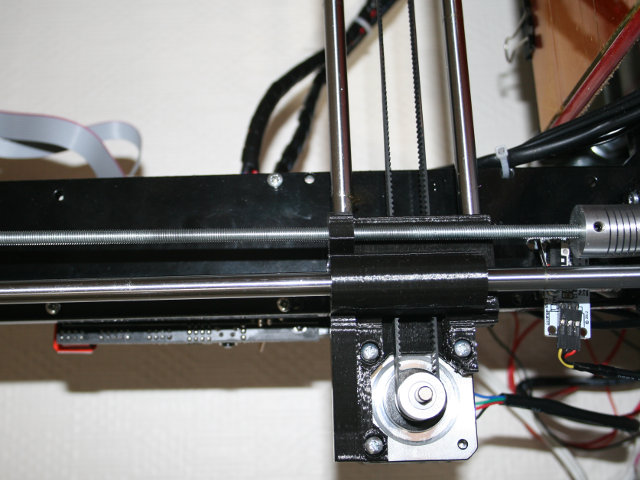
The axe Z zero (the contactor on the right of the picture) is the most difficult (low assessible on this printer model) and needs to be redone for time to time.
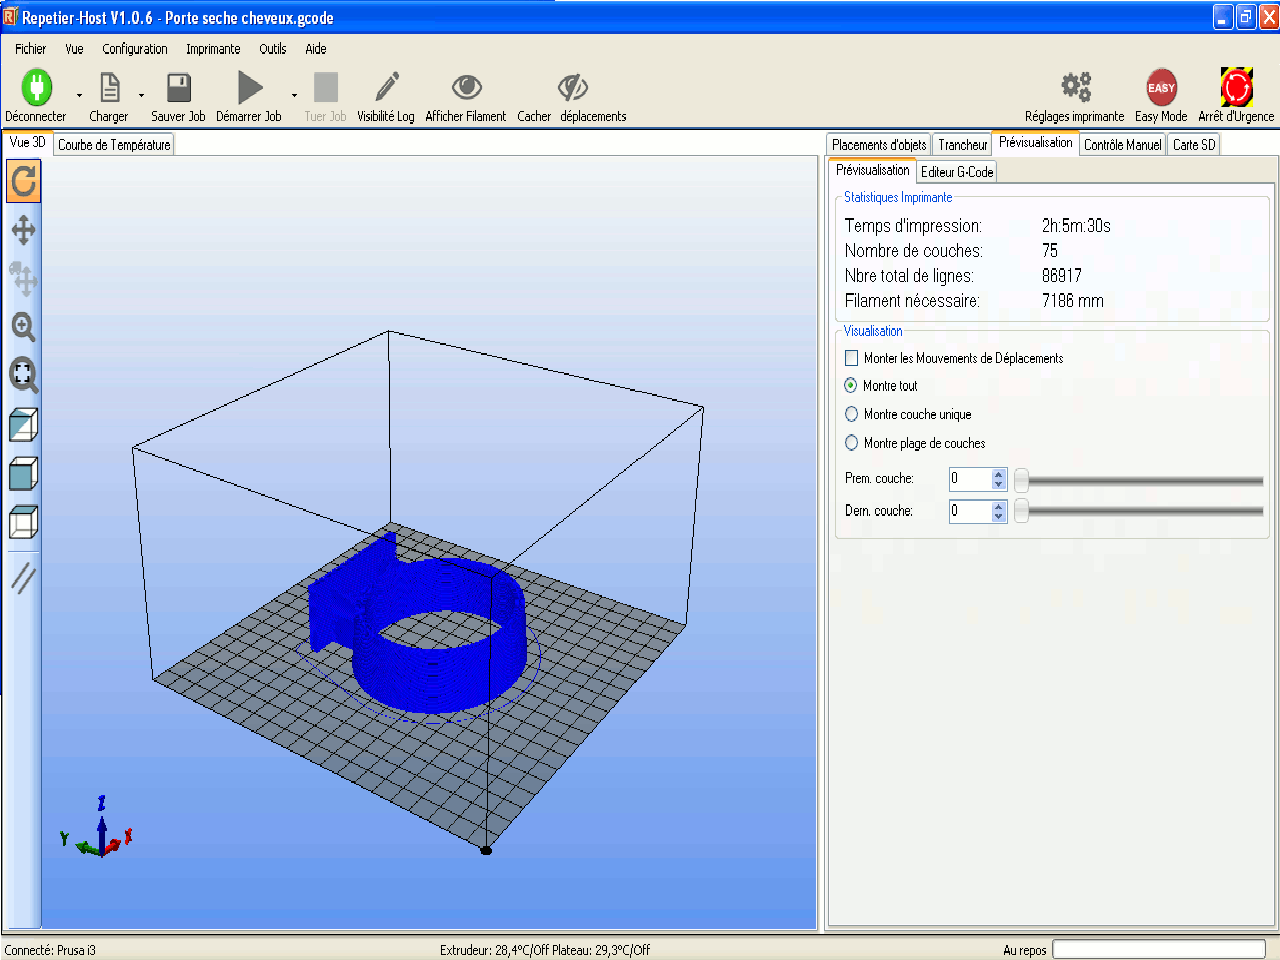
For the tuning of the printer after assembly, I have used the Repetier software.
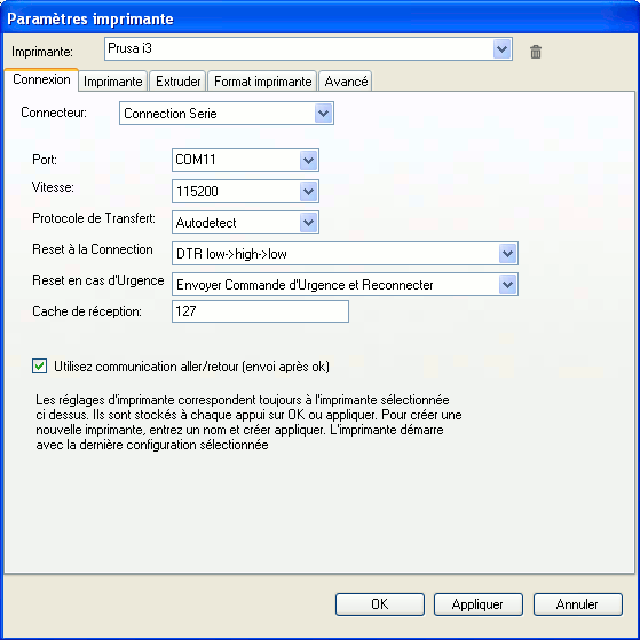
Here the parameters of the communication between the PC and the Marlin software of the printer (with an USB cable).
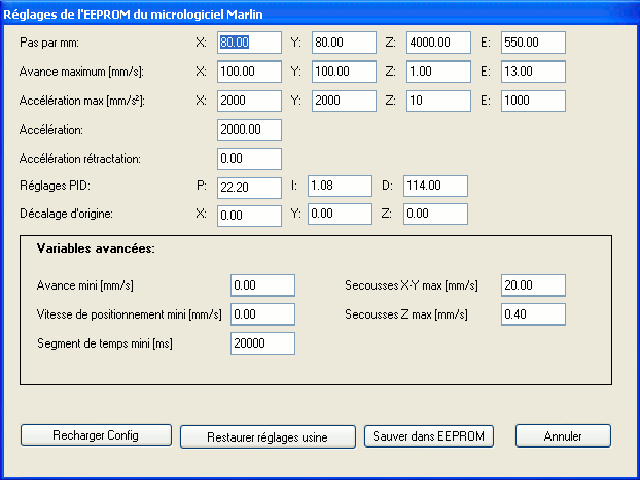
Here the parameters to be stored in the EEPROM of the printer Arduino board.
Improvements made
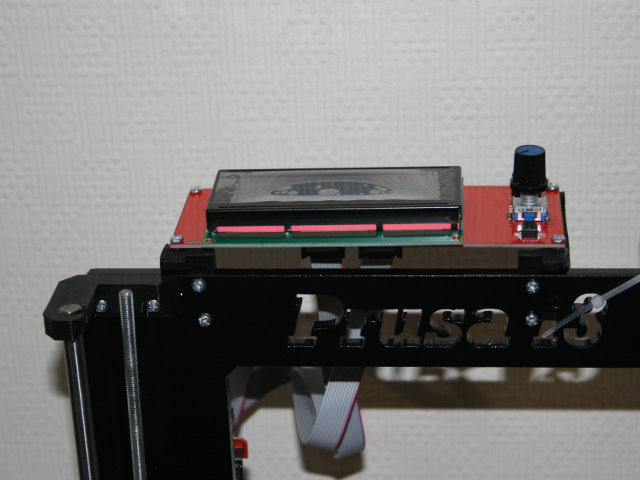
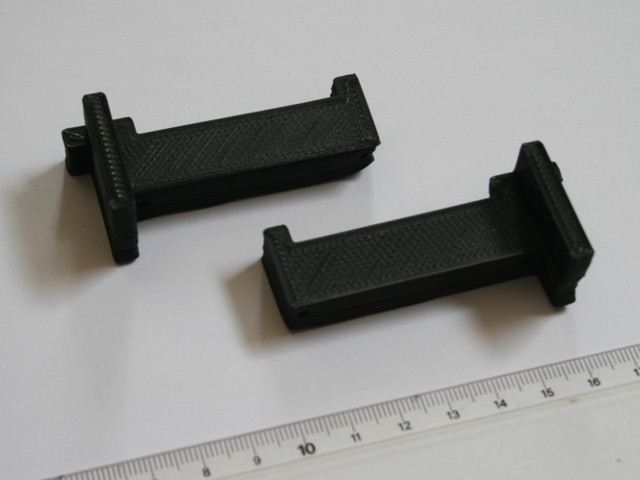
I have put the (optional) control panel on the top of the Prusa printer with 2 3D printed T-squares.
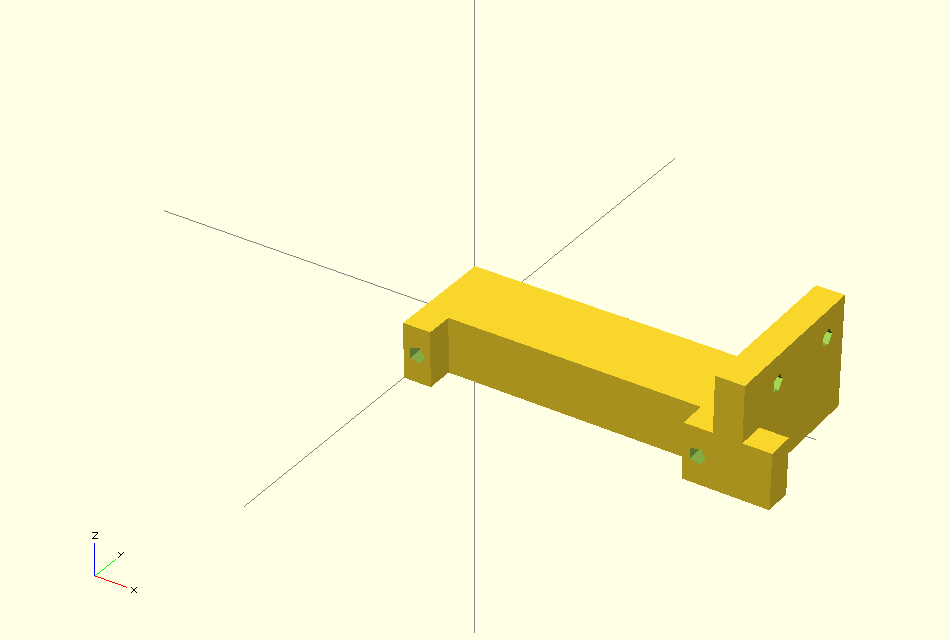
Here the SCAD source file and here et here the STL files (right and left).
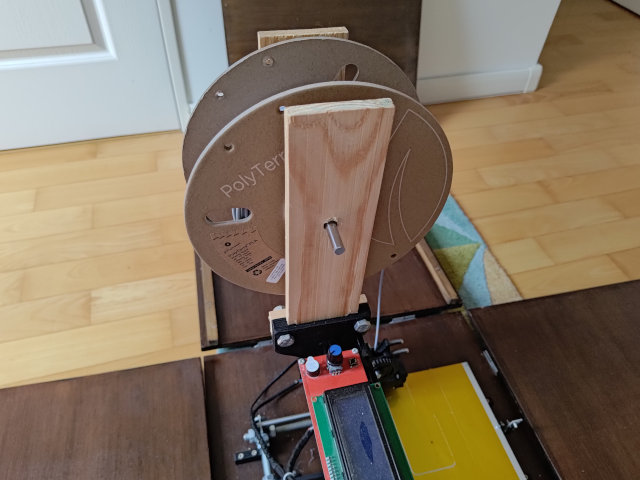
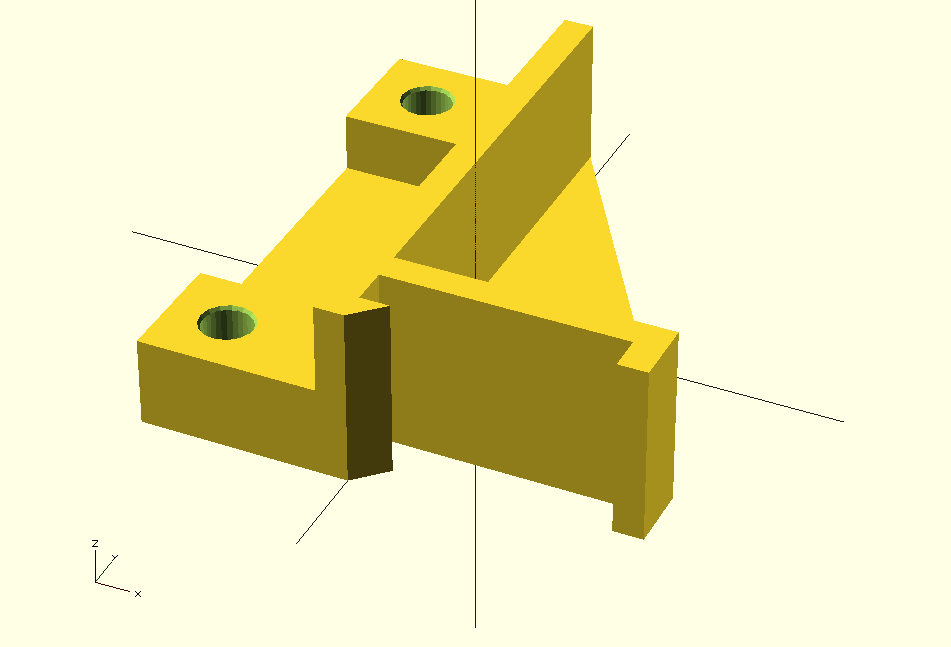
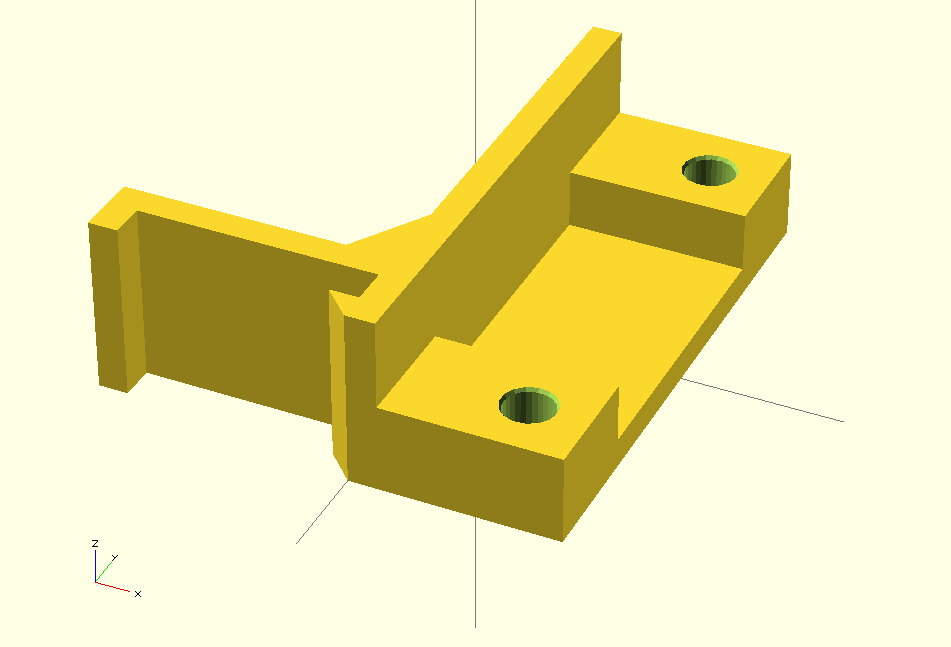
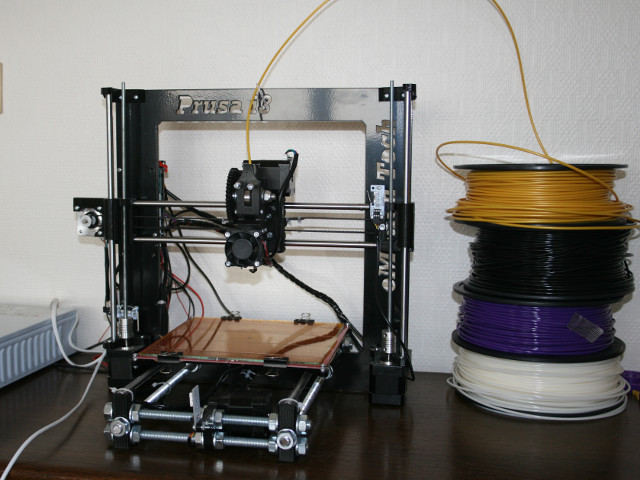
I have put a carrier for the filament reel on the top of the Prusa with 2 3D printed T-squares and some wood pieces.
Here the SCAD source file and here and here the STL files (right and left).
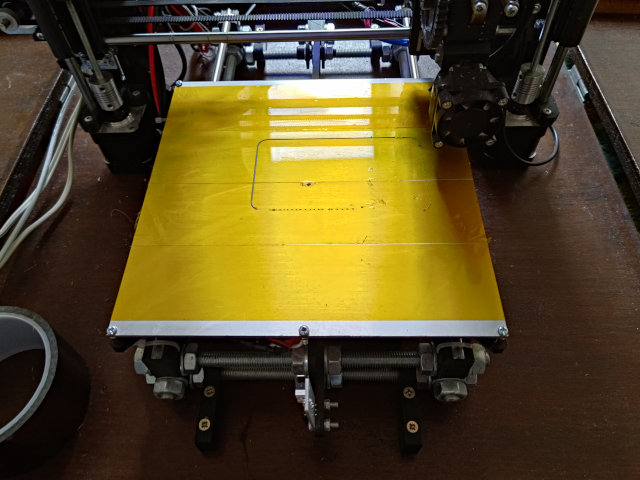
I have changed the heating plate for an Aluminium one, stronger and faster.
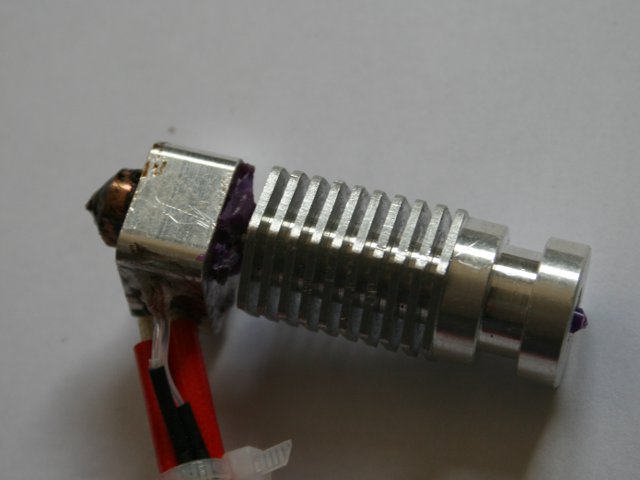
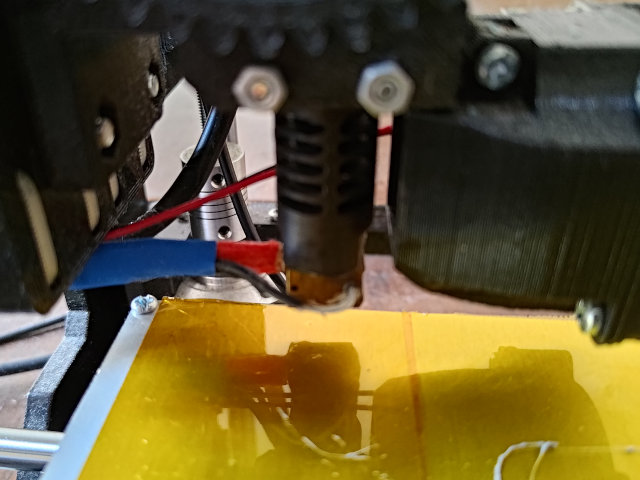
I have changed the original extruder (Hexagon on the left) for a J-Head Mk V-BV (on the right) with which I have obtained good results with PLA.
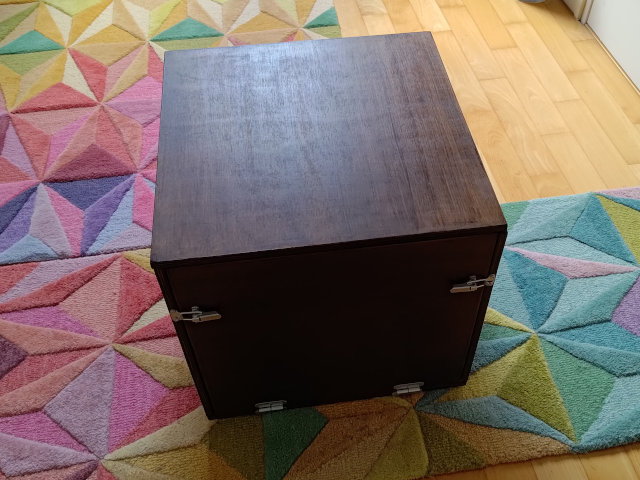
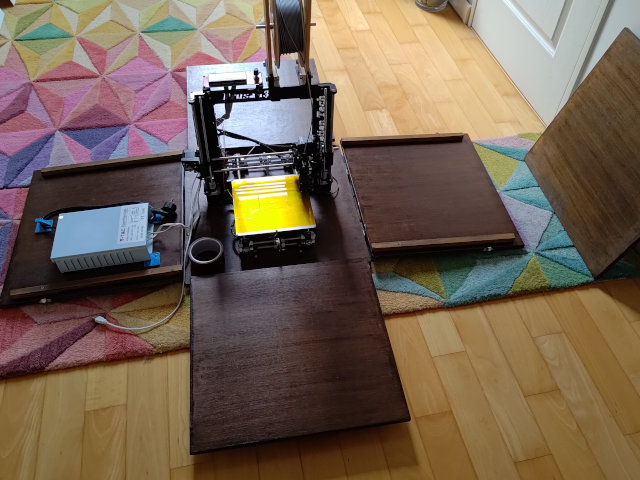
To stock the printer, I have put it in a wooden box that opens from any side like a cup.
The power supply is installed on one side and there is enough room to stock the filament reel and its support.