Raspberry PI Remote control
A question, a problem or a suggestion, don't hesitate : a little email
A web page to gather the operation to remotely control a Raspberry PI :
- Activation and securisation of the SSH link,
- Remote control through a text interface (PuTTY),
- Remote control through a graphical interface (VNC),
- Files transfert (FileZilla).
Setup and securisation of the SSH link
The setup of the SSH link is done using the main menu (Preferencies -> Raspberry Pi configuration -> Interfaces).
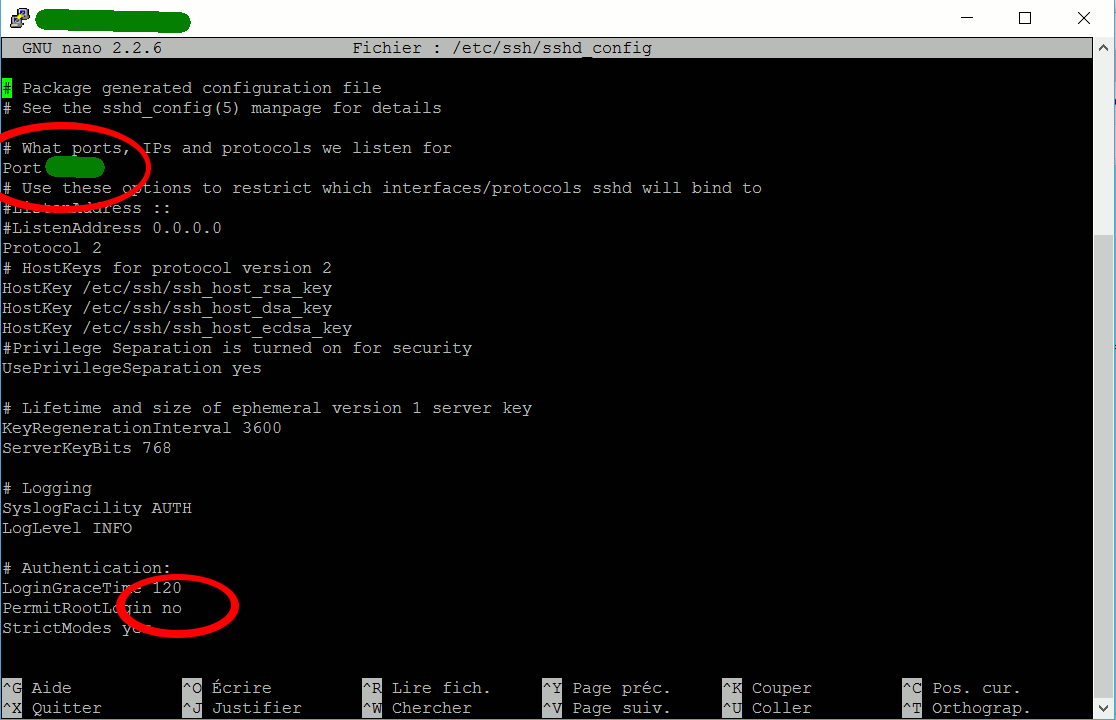
The first step (top picture) of securisation needs to modify the /etc/ssh/sshd_config file entering "sudo nano /etc/ssh/sshd_config" in a LXTerminal window.
You must put "no" on the PermitRootLogin line (no possibility to connect through SSH with the root user) and change the port number for the SSH link (default is 22). Save and reboot (sudo reboot).
The second step is to install fail2ban which locks (for a few time) the repeated access from an IP trying to break your SSH password :
- For Bookworm, you need first to install rsyslog. In a LXTerminal window enter : sudo apt-get install rsyslog
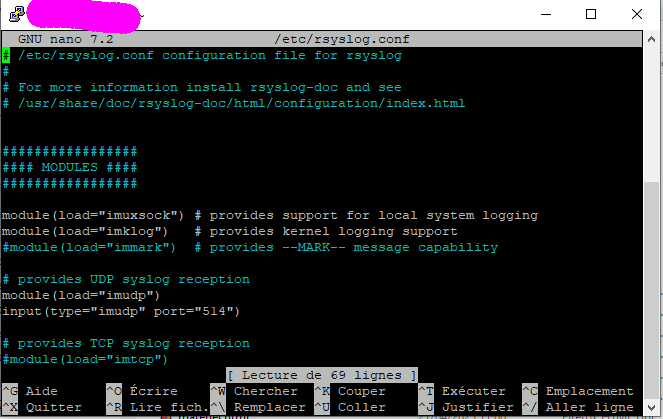
Then modify the /etc/rsyslog.conf file with :
sudo nano /etc/rsyslog.conf
and uncomment the 2 lines (middle picture) :
module(load="imudp")
input(type="imudp" port="514")
Then reboot the service with : sudo service rsyslog restart
- Install iptables (the firewall) with :
sudo apt-get install iptables
sudo apt-get install iptables-persistent
and answer yes to the 2 questions about the persistent rules.
- Install fail2ban with :
sudo apt-get install fail2ban
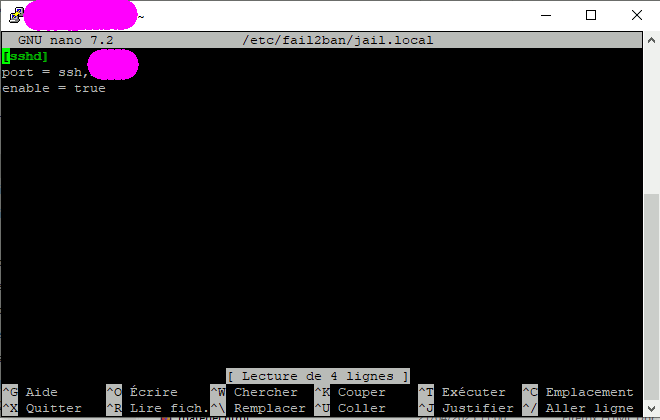
- The /etc/fail2ban/jail.conf file contains the default rules. To overpass the default rules, you need to create the /etc/fail2ban/jail.local file. The bottom picture is an example to protect the SSH access (put the SSH port number you have defined).
- The command sudo nano /var/log/fail2ban.log will show you who has been blocked.
Note : if you connect to your Raspberry PI through Internet (not in local), you need in your rooter (box), redirect the choosen SSH port towards the local IP of your Raspberry. See your Internet box documentation ("DHCP" with the free provider).
Remote control in text mode (PuTTY)
In text mode, the easiest way is to use the PuTTY software (PC).
After download and install, you just need to add in the "session" part :
- The IP address of the Raspberry PI (192.xxx.yyy.zzz or a name recognised by your DNS),
- The SSH port number,
- Indicate that the link will use SSH.
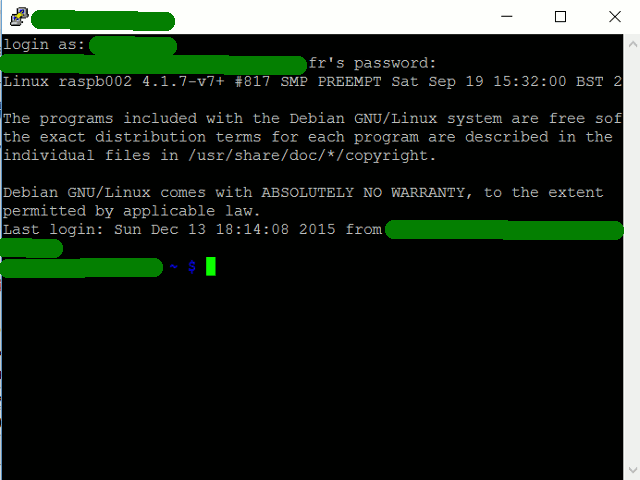
After connexion, the Raspberry asks for the username and his password and you get a standard LXTerminal window.
Remote control in graphical mode (VNC)
In graphical mode, I use now (following the Jessie upgrade) VNC which is included in the software package.
To use it in full HD, if you use the 64 bits release :
- In the same menu : Préférences -> Screen configuration -> Disposition -> Screens -> NOOP-1, and choose 1920*1080.
To use it in full HD, if you use the 32 bits release :
- Use : sudo raspi-config -> Advanced Options -> Wayland -> X11
then : sudo raspi-config -> Display Options -> VNC Resolution -> 1920x1080
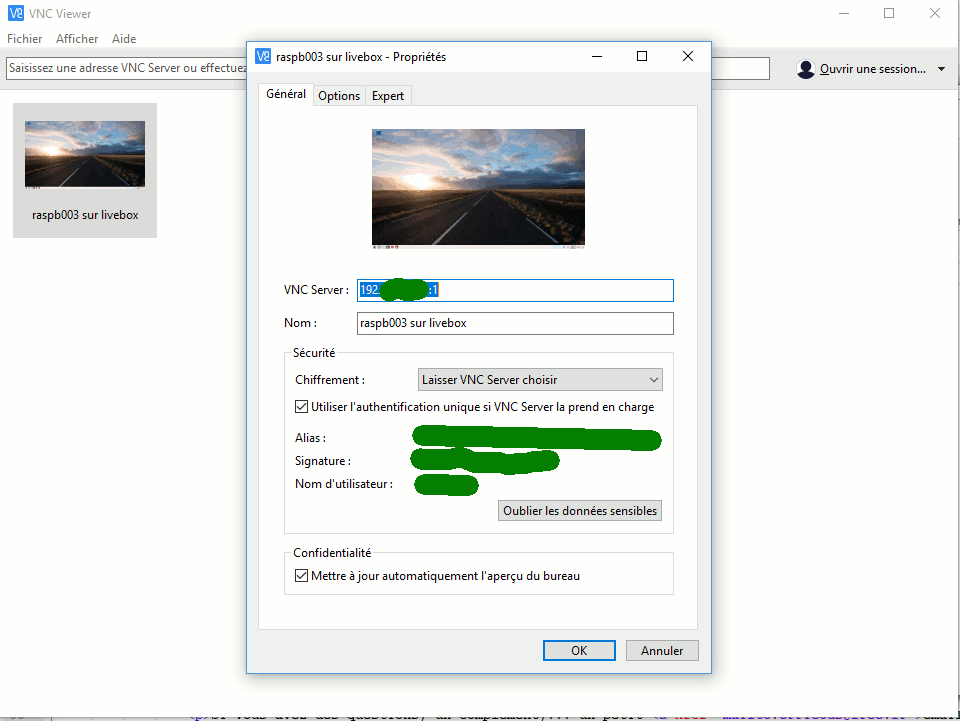
On the PC side, after downloading (www.realvnc.com/download/viewer) and installation, you need to :
- Create a new connection with a right click and complete the Raspberry PI (local) IP address,
- Double click and connect to the with your Raspeberry PI username.
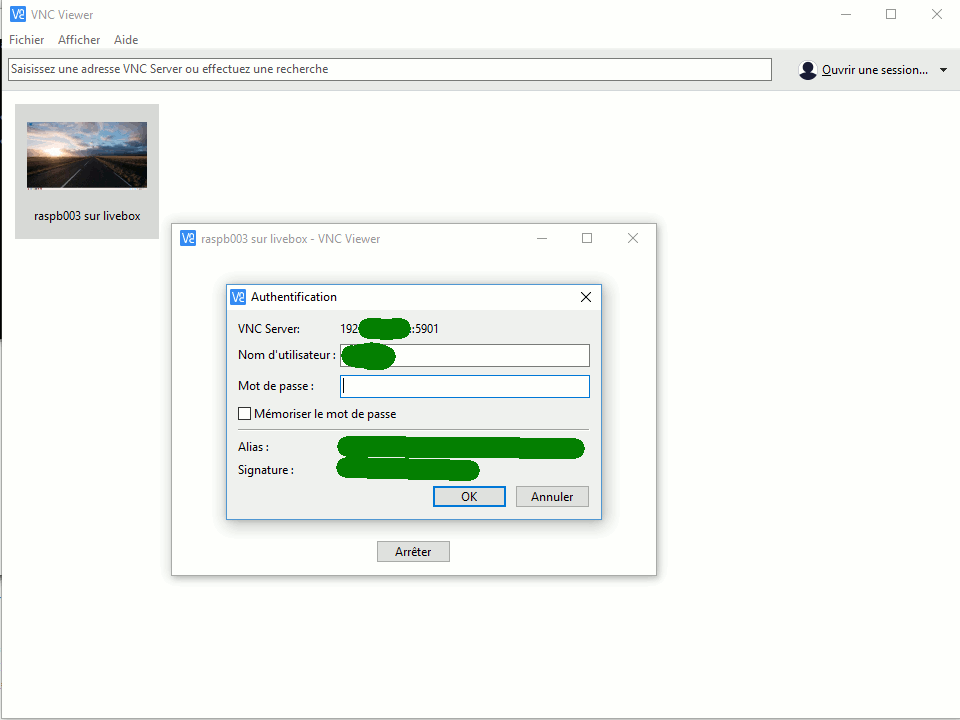
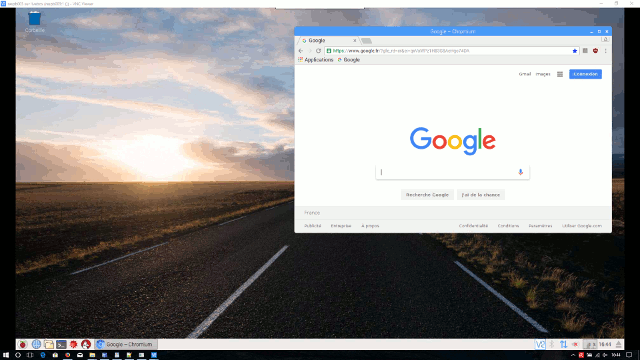
After connexion (and after some security warnings, but you are on your local network !), you reach the spendid Pixel desktpop on your PC.
One remark : it happens to me that in a LXTerminal window, the arrow keys (up, down,...) are not automatically recognized. You have to enter the /bin/bash command and you recover them.
Files transfert (FileZilla)
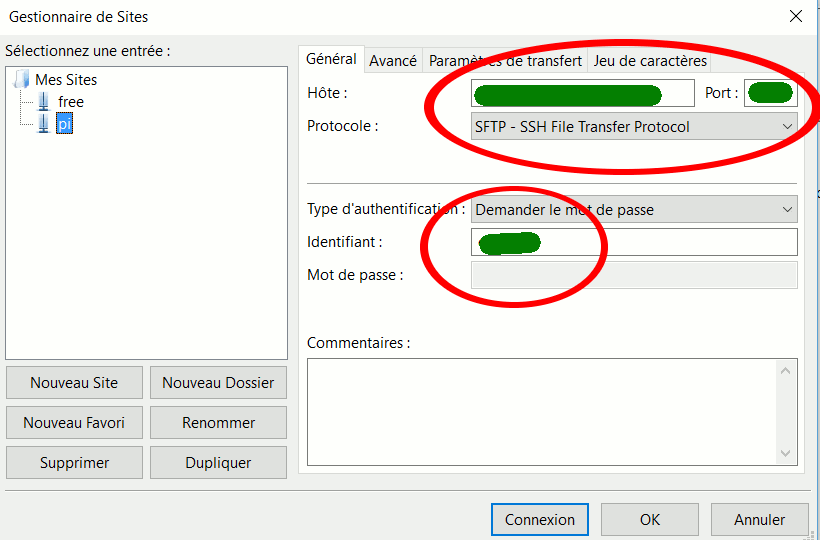
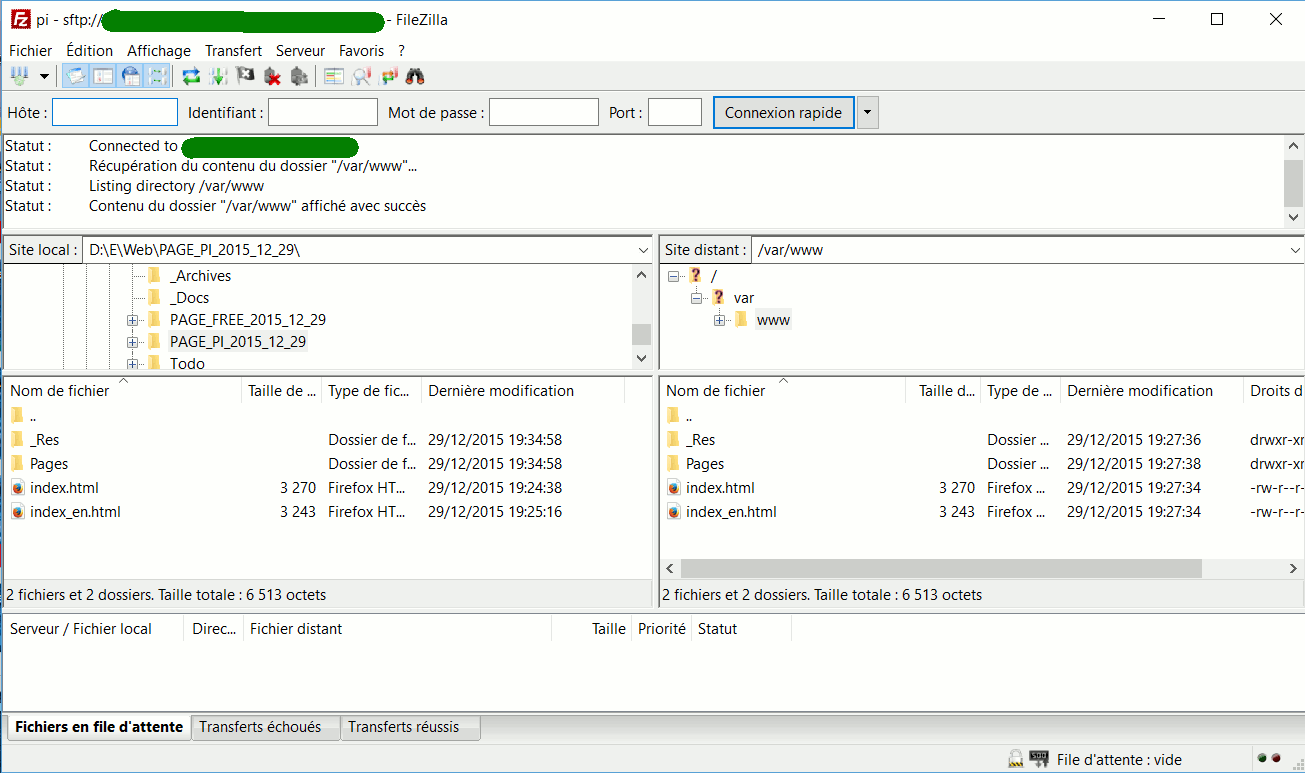
For the files transfert, I use the FileZilla software which can (also) uses the SSH/SFTP protocol.
After download and install, you just need to put the requested parameters in the sites manager (top picture) :
- The IP address of the Raspberry PI (192.xxx.yyy.zzz or a name recognised by your DNS),
- The SSH port number,
- The used protocol (SFTP - SSH),
- The username to be used.
After connexion, the Raspberry asks for the password and you get a double explorer you can use for manage your files (bottom picture with of the left the PC disk and the Raspberry one on the right).