Raspberry PI System installation
A question, a problem or a suggestion, don't hesitate : a little email
A web page to gather the procedure to install the system and bringing it to live :
- SD card installation,
- First operations during the boot,
- System security.
This page has been upgraded following the upgrade to Bookworm. Comparing with previous versions, the installation is easier. Note that Bookworm is compatible with all my Raspberry versions (from 1B to 4). You just need to use the 32 bits version on the oldest Raspberry models.
SD card intallation
The first steps :
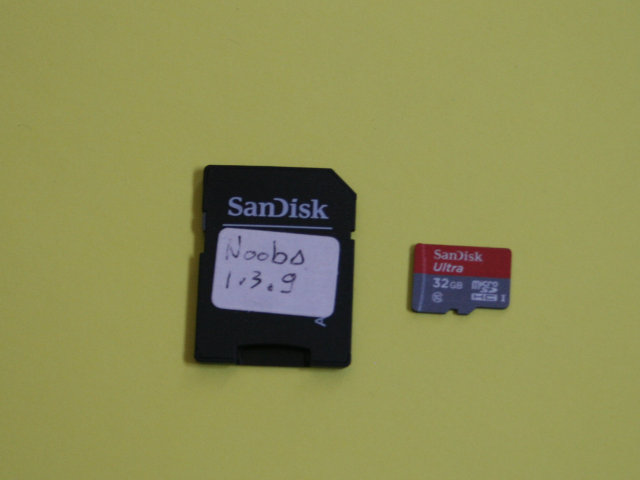
- download the "Raspberry Pi OS with desktop and recommended software" system (web site : https://www.raspberrypi.com/software/operating-systems/). I have used the 64 bits 2024-07-04 (kernel 6.6) release (for RPI 3B or more), 32 bits otherwise.
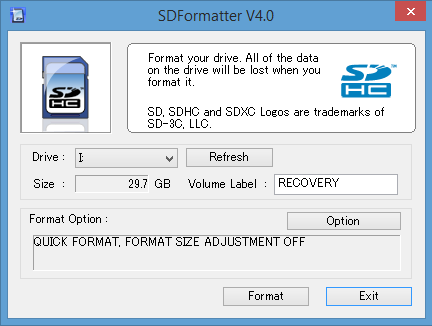
- format an SD card (32 Gb is necessary for Bookworm and its desktop) with the SDFormatter software using the default options (see picture),
- extract the image file (i.e. 2024-07-04-raspios-bookworm-arm64-full.img) and copy it with Win32DiskImager on the SD card.
System boot

During the Raspberry boot (with a keyboard/mouse and display connected), you will chose your country, the language, the password for the pi user, the WiFi options,... The following update can be rather long (30') !
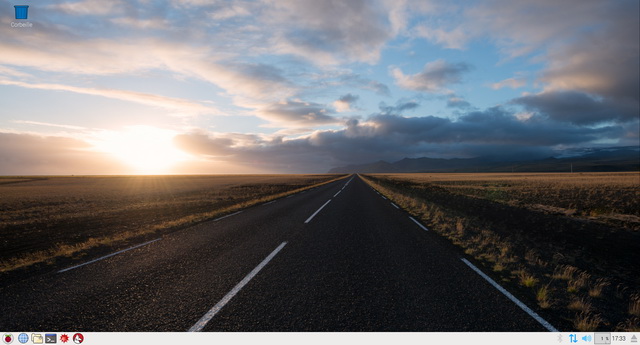
With Bookworm, you directly arrive on the desktop. You have accès to the options with the destop (or enter sudo raspi-config in a LXterminal).
For a complete update, in a LTterminal, enter :
- sudo apt-get update
- sudo apt-get upgrade
- sudo reboot
Other operations
The operations can be done using a LXTerminal reachable in the graphical interface menu or through a remote connection (see the remote control page).
In this window :
- The "sudo raspi-config" command allows you to modify the system options like during the first boot,
- The "sudo passwd root" command allows you to change the system password.
Internet connection
With an ethernet wire, the connection is automatic.
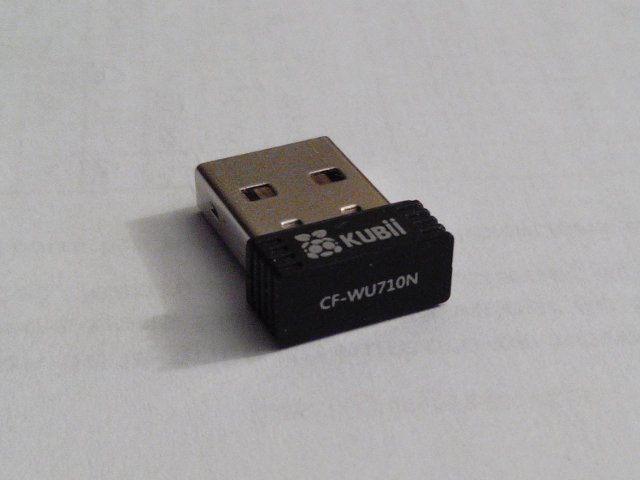
For the WiFi connection (RPI 1B or 2), I have used the Kubii module for Raspberry Pi. After a reboot with the key inserted, click on the icon on the tool bar (or in the menu). Click on your WiFi network and then indicate the required password (WPA for me). That's all !
If you use your Raspberry PI on several LAN, you can duplicate the network description paragraph. In an LXTerminal, open the configuration file with the sudo nano /etc/wpa_supplicant/wpa_supplicant.conf command and duplicate all from "network={..." until "...}".
The "ifconfig" command in a LXTerminal allows to find the internet address of the raspberry ("eth0 or wlan0" depending of the choosen connection, just after "inet addr:").
Securisation of the system

Some basic operations to secure your Raspberry PI, in particular if it's permanently connected on the Internet (web server for instance) :
- See the remote web page to secure the SSH access,
- Activate a new user (for which the username is more difficult to guess than "pi" !) :
In a LXTerminal (or through PuTTY) : sudo adduser NewUsername
To give him the sudo capability enter : sudo usermod -aG sudo NewUsername
You can check entering : groups NewUsername
who responds : NewUsername : NewUsername sudo
You can repeat the operation to give him all the capability that the original pi user have :
pi : pi adm dialout cdrom sudo audio video plugdev games users input netdev spi i2c gpio
To avoid to enter the password at every sudo command, enter :
sudo visudo
then modify the line beginning with %sudo... to have :
%sudo ALL=(ALL) NOPASSWD: ALL
then reboot.
- Remove an user, for instance the pi one :
After having check that your new user has all is requested (sudo...), in a LXTerminal (or through PuTTY) being connected with the new user :
sudo deluser --remove-home pi
then reboot.