Raspberry PI Web server
A question, a problem or a suggestion, don't hesitate : a little email
A web page to gather the operations needed to install a web server on your Raspberry PI.
Obviously, as your Raspberry will always be in line, it is strongly recommended that you secure it : see the system web page there.
Apache server installation and test
For Bookworm find "apache2" in "Add/Remove Software" and select "Apache HTTP server".
I have used "apache2-2.4.62-1+deb12u2"
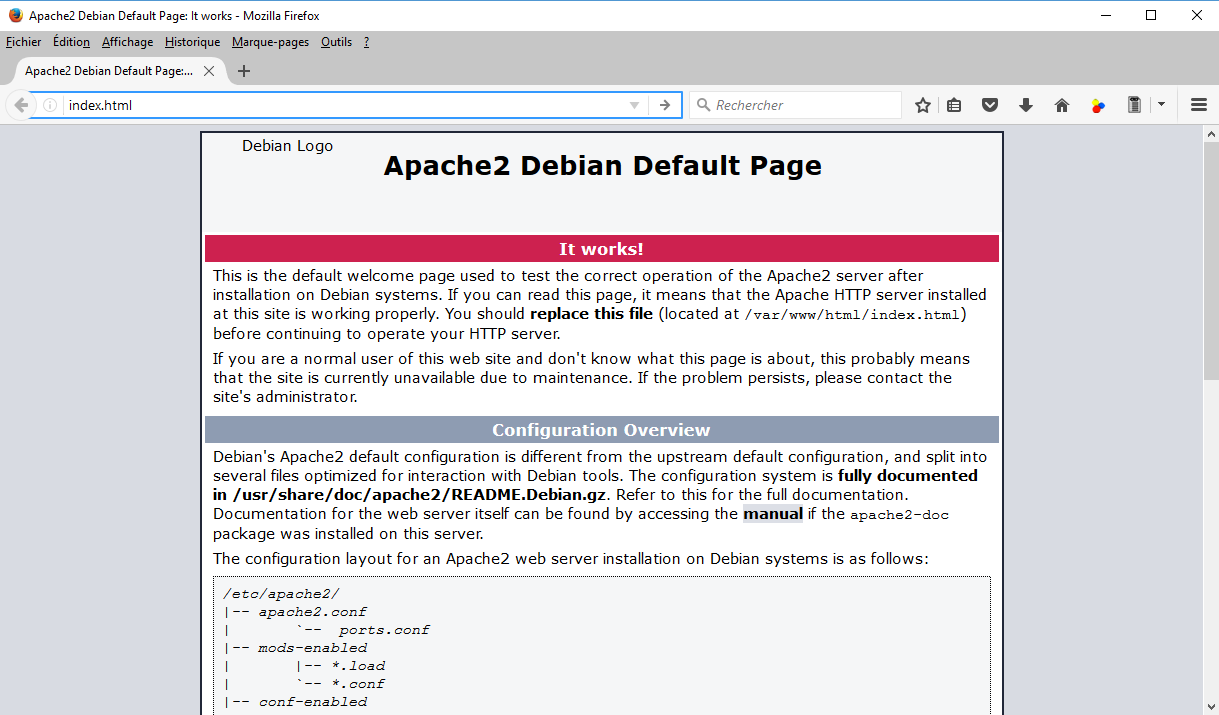
If everything is OK, you can test the server entering the address of the Raspberry pi in a web browser from a PC on the same local network. For me, and for this particular Raspberry PI, it is http://192.168.0.101:80.
A welcome page, as the one on the picture on the left, should display.
Web pages installation
The web pages of the server are in the directory : /var/www/html for which you should have acces using the commands (in a LXTerminal) :
sudo chown -R MonUser /var/www/html
sudo chgrp -R MonUser /var/www/html
You have to write the web pages and then just to put them at this location.
To transfer the files, the simplest is to use the FileZilla sofware (see the remote control web page there).
Web pages access
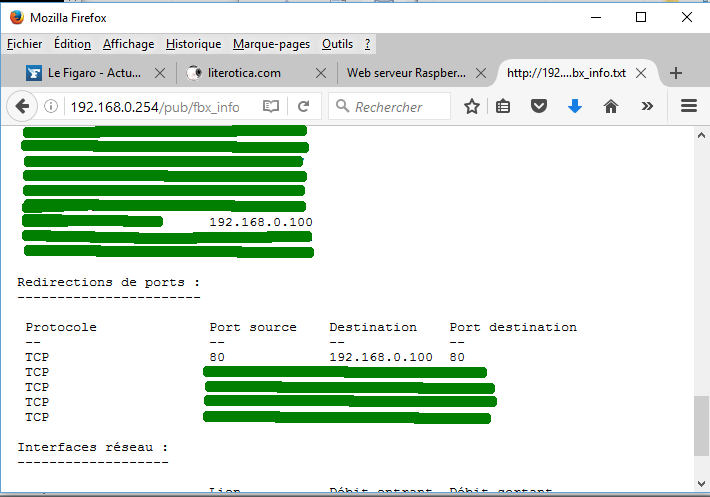
To have access from the outside of your local network three operations are needed :
- Mandatory, you have to redirect the port 80 (the one for http) towards your Raspberry PI (bottom of the picture).
- Depending of your router, you may have to get a local fixed address for your Raspberry PI using its MAC (top of the picture).
- Depending on your internet access, it is possible to define a domain name, which is more easy than an numerical IP one, especially when it may change (depending on your internet access/connexion).